
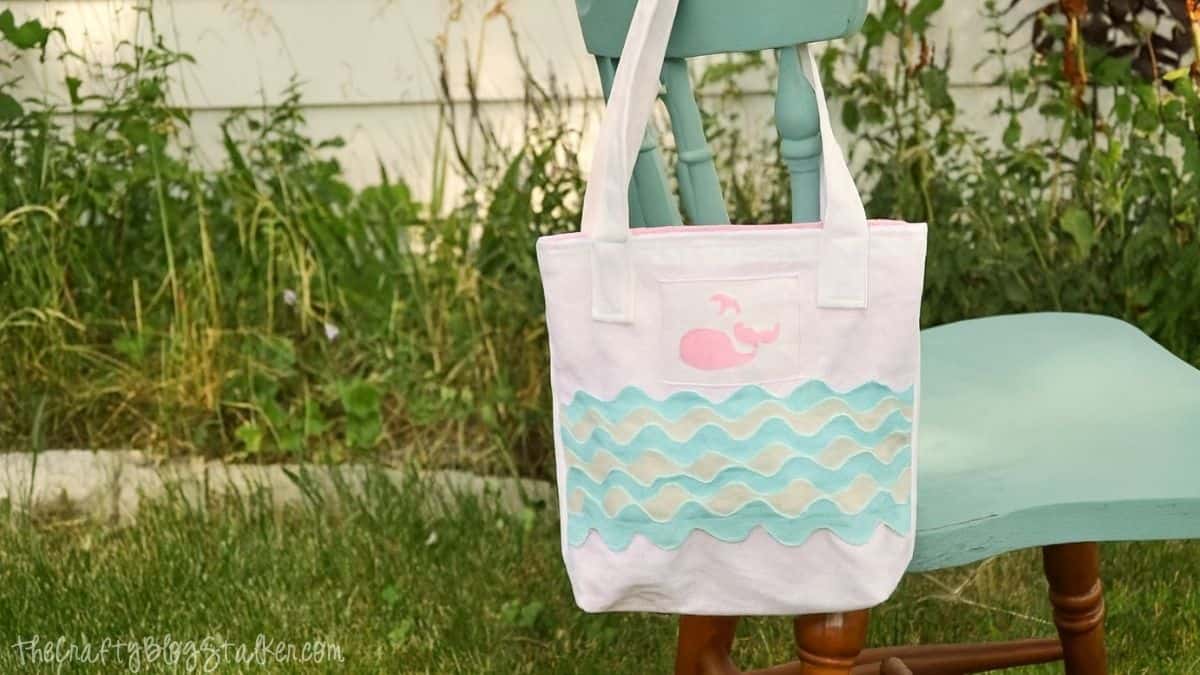
This detailed tutorial demonstrates how to create a small tote bag that's perfectly sized for young children. Adorable, useful, and enjoyable to craft!
If you've ever taken a toddler out, you understand they enjoy carrying their own "items."
Toys, treats, odd pebbles from the park—anything you can think of! This small tote bag is perfect for it.
It's the ideal size for small hands, simple enough for newcomers to sew, and creates a charming, useful present.
Additionally, seeing your toddler proudly carry their own bag is one of the most adorable sights you'll ever witness.
Skill Level: Beginner
Total Time: 1 hour
Supply List
- Sewing Machine
- Main Fabric (white)
- Coordinating Fabric
- Coordinating Thread
- Ric Rac Ribbon in White and Blue
- Fabric Paint Marker
- Scissors
- Die Cut
Cut the Fabric
Cut the material into the following sections.
- Main Fabric, 2 - 2x25-inch straps
- Main Fabric, 2 - 10x10 inch squares
- Coordinated Fabric, 2 - 10x10 Inch Squares
- Small Piece of White Fabric (optional)
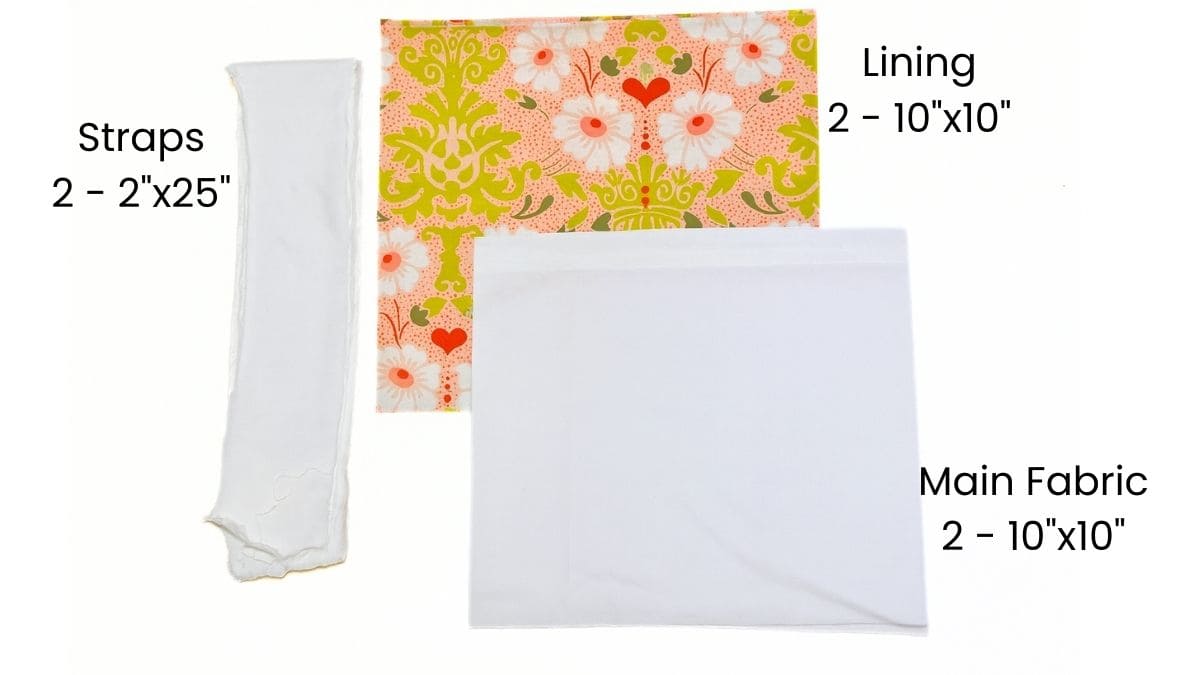
My primary fabric was an old white curtain that I cut into pieces. That's why there's a neat seam at the top.
However, if yours lacks that feature, there's no need to create the seam since you'll be stitching there anyway.
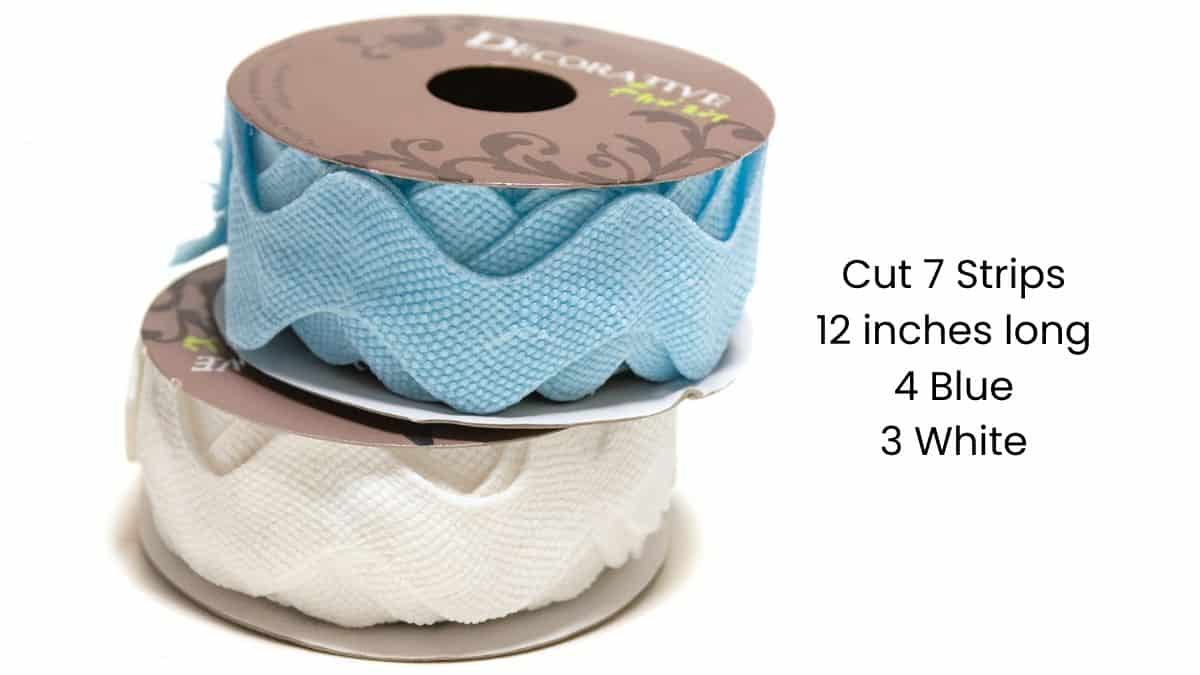
Cut the trim ribbon into 12-inch pieces. 4 blue and 3 white.
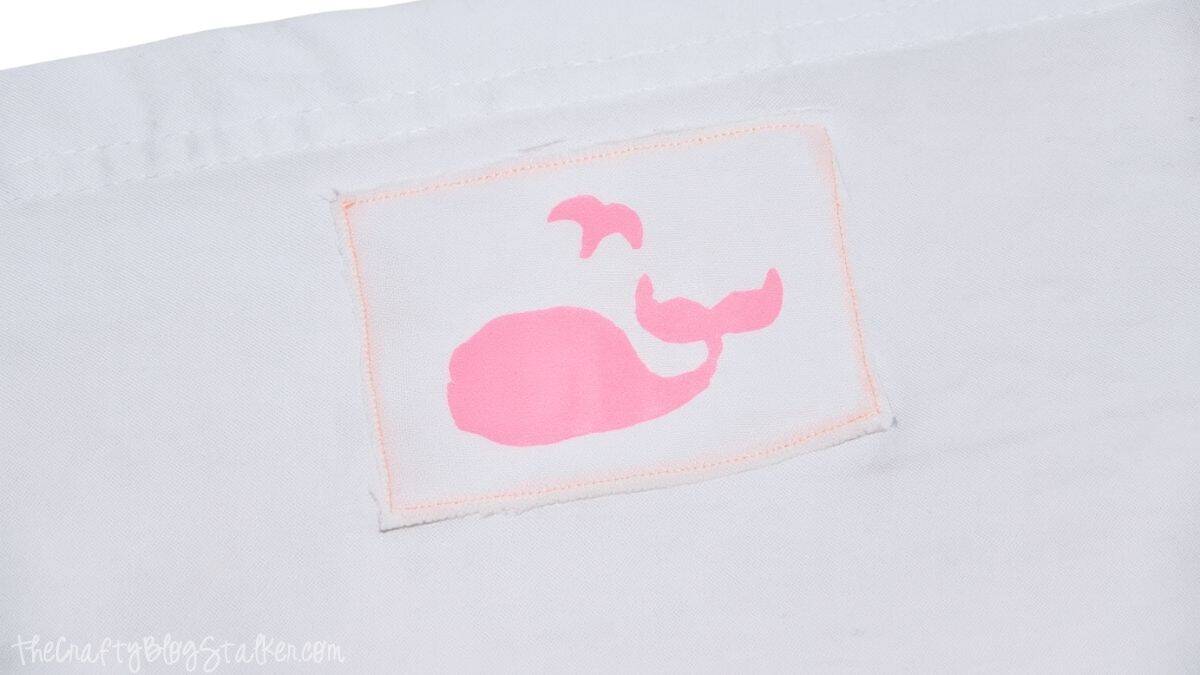
Stenciled Whale
The adorable small whale on the front of my bag was applied using a stencil and fabric paint.
Unfortunately, the specific die cut I used is no longer for sale, but I have found a comparable onedie cut set that would work great!
Take a small piece of paper and cut the whale shape from the middle. This will not serve as your stencil.
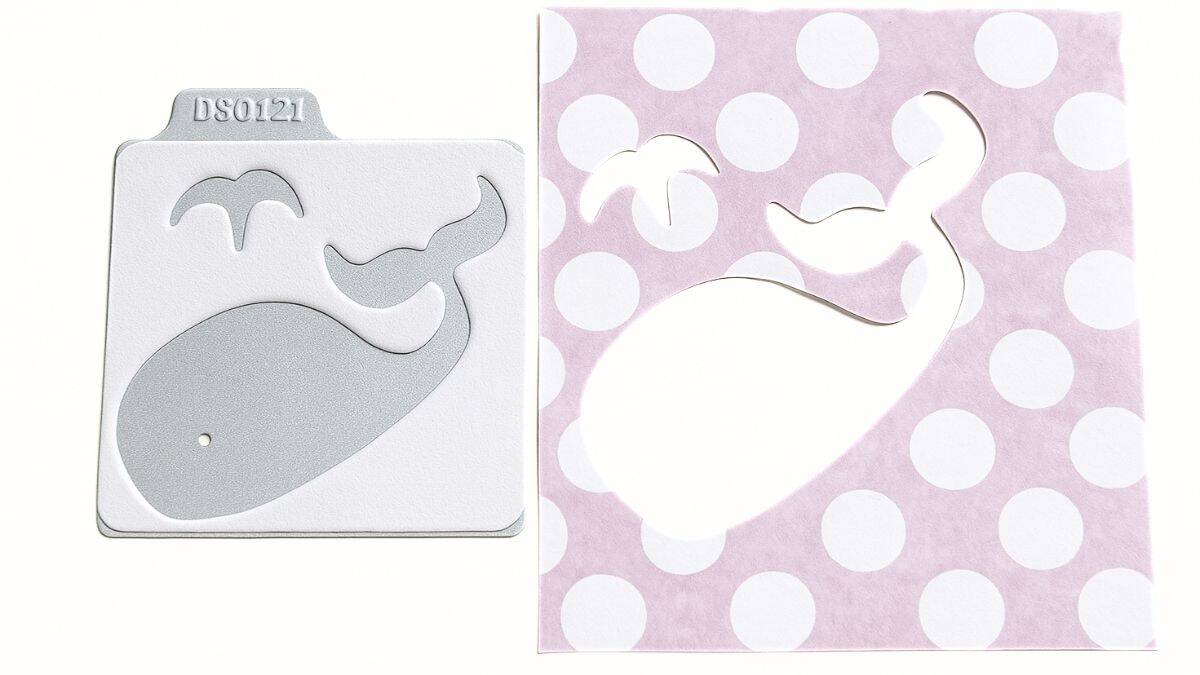
Attach the stencil to a piece of white fabric scrap and draw the whale using a fabric paint marker. Allow it to dry completely.
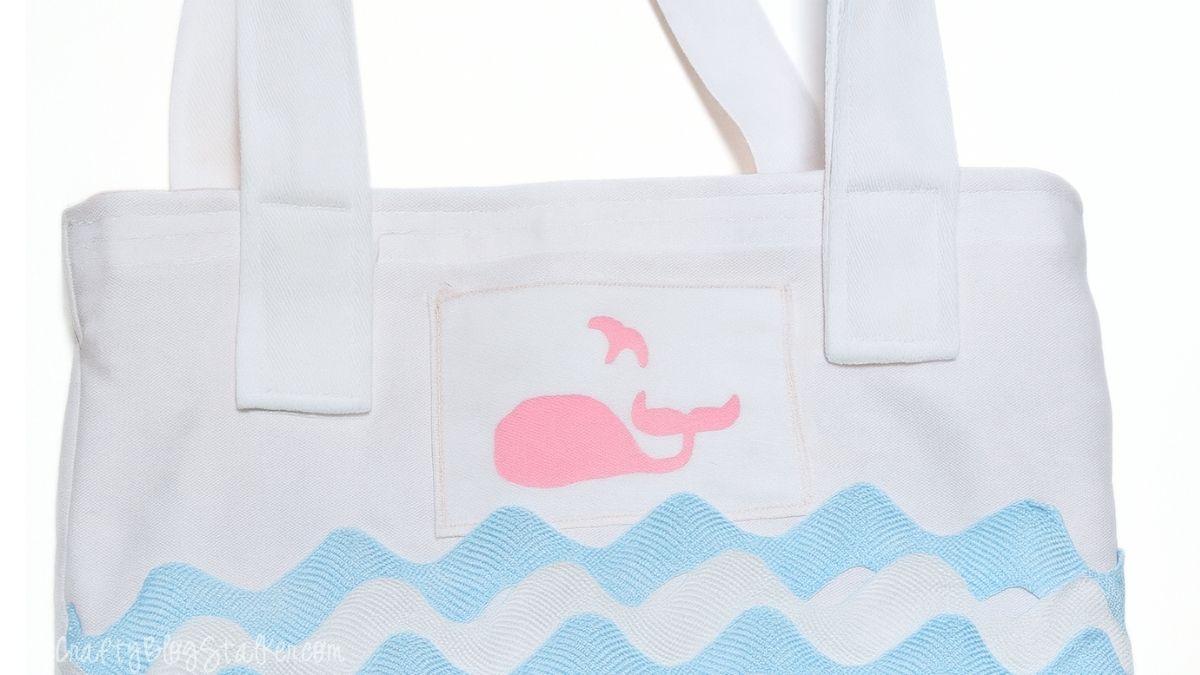
Sew Front Panel
After the whale has dried, stitch it to the front of the primary fabric panel, slightly higher up.
I didn't use appliqué methods. I simply applied a zig-zag stitch along the entire edge of the fabric piece to secure it.
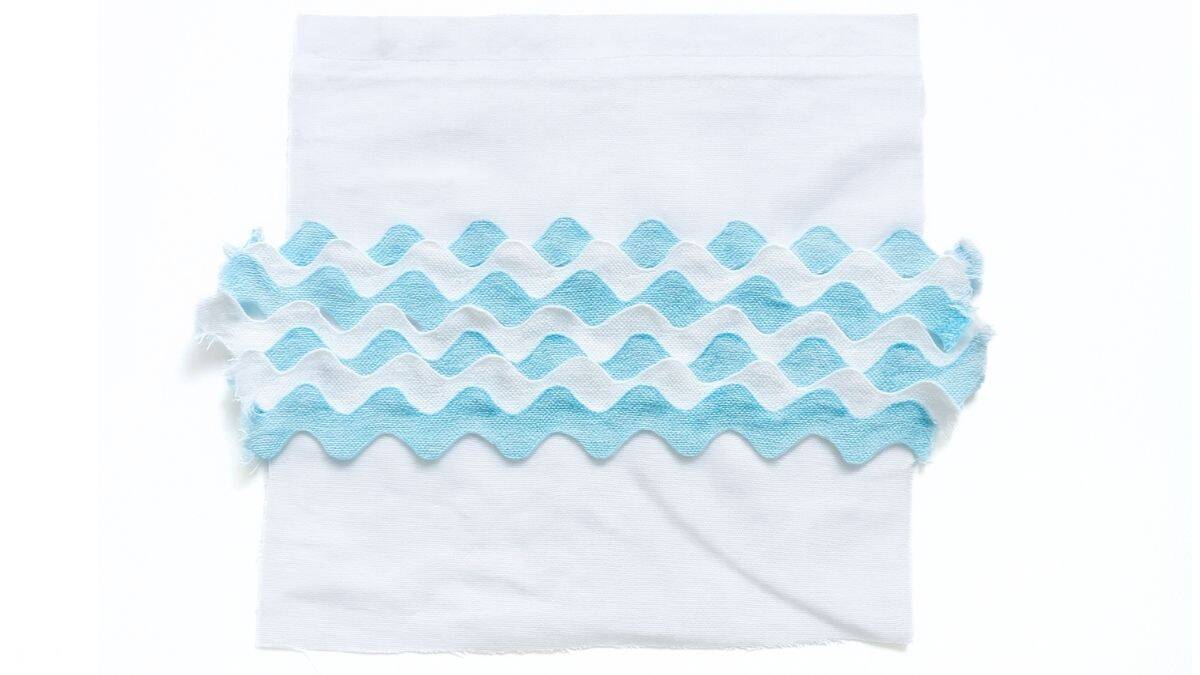
Next, I spread out my lace trim. Switching the strips back and forth produces a look that mimics ocean waves.
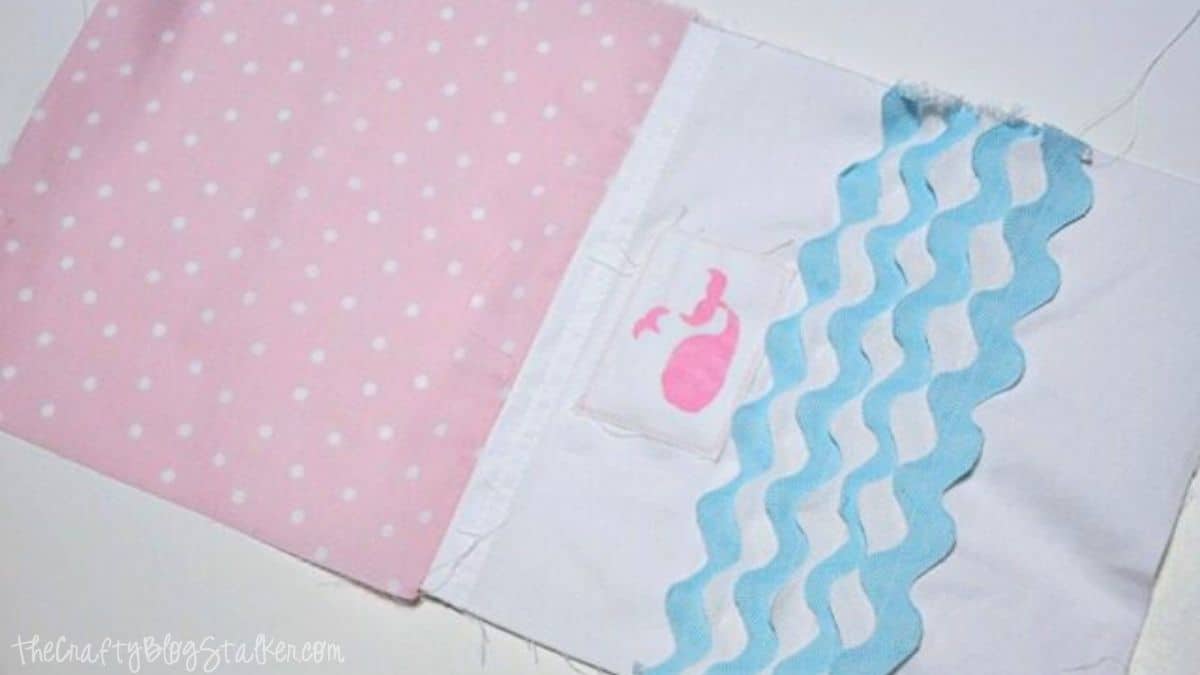
(The whale patch should be sewn on at this point. I took the photos out of sequence, which is why the patch isn't visible here. 😆)
After the ric rac is positioned, stitch it in place, beginning with the top piece (the one directly beneath your whale tag).
Stitch as near to the base of the lace trim as possible, while remaining centered on it.
I glanced at it as I worked, ensuring the bag wasn't visible between the strips, and it appeared like waves. It doesn't need to be perfect!
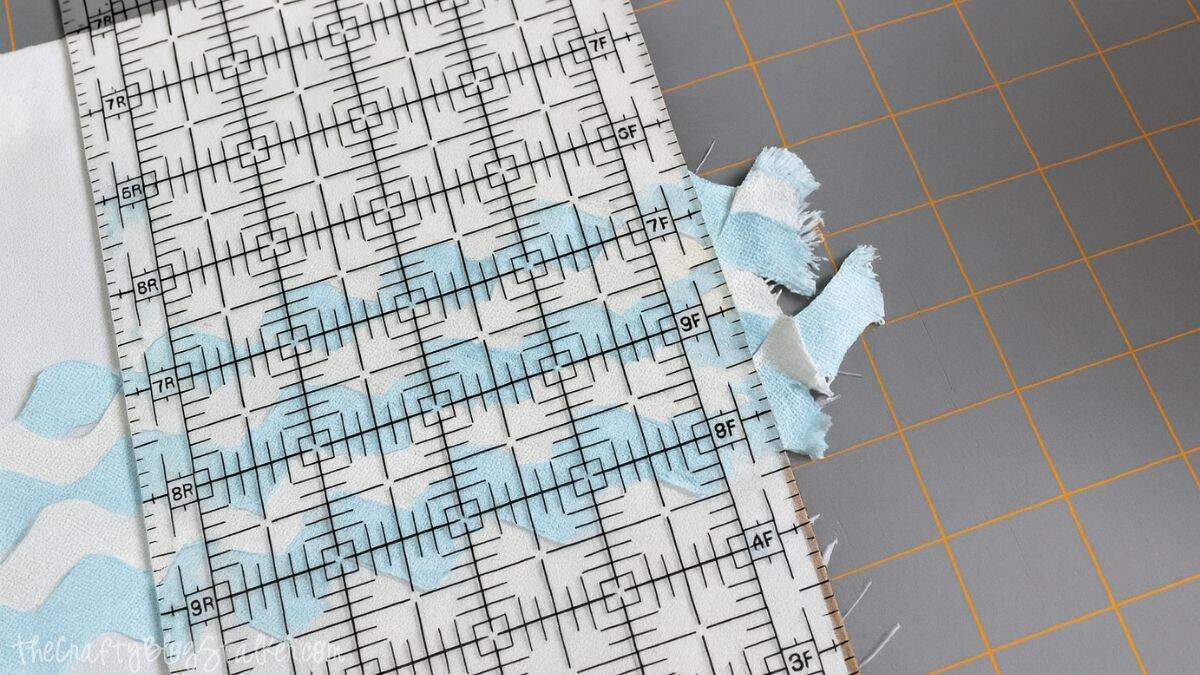
After finishing the sewing, cut the unfinished edges using a straight edge, or use scissors if you don't have one.
Sew the Bag
Now, let's start stitching the bag itself.
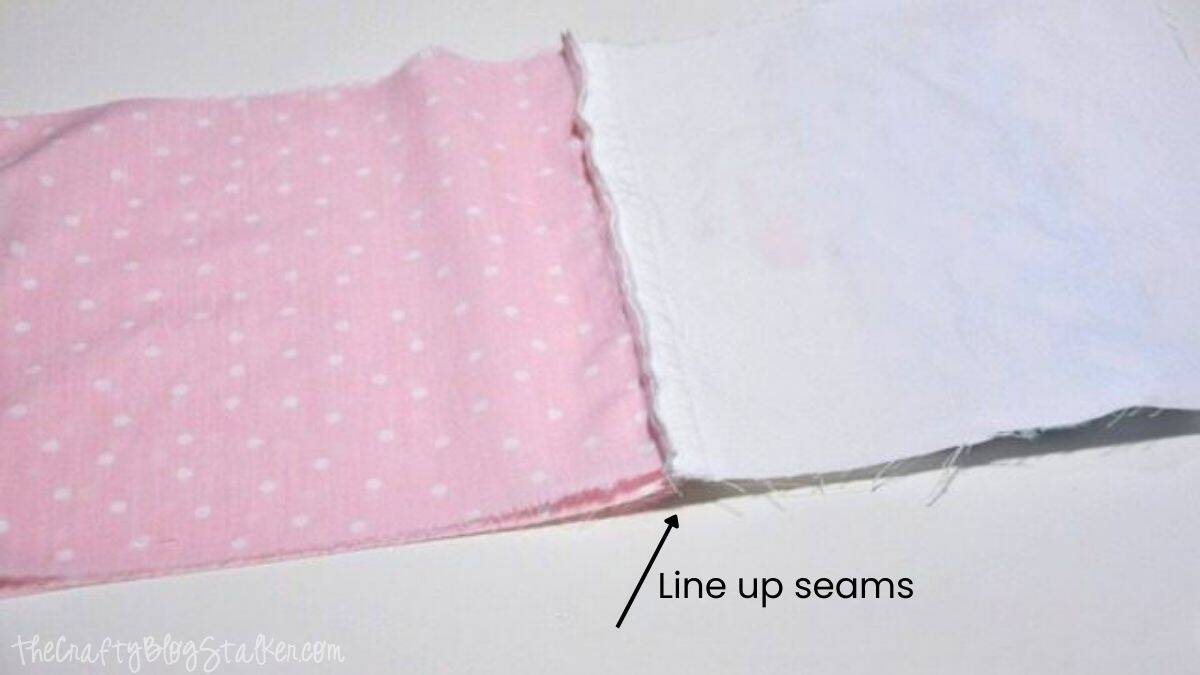
Take the inner fabric and the outer fabric that you previously sewed the trim to, and align them with their right sides facing each other. After that, stitch across the top edge.
Repeat with your other main fabric and lining pieces.
Press the seams toward the main fabric on both sections.
Take both sections and place them with the right sides facing each other. The seams should align properly.
Sew all the way around, beginning with the lining sections.
Stitch backwards at the start and finish, and leave a tiny opening to flip it to the right side.

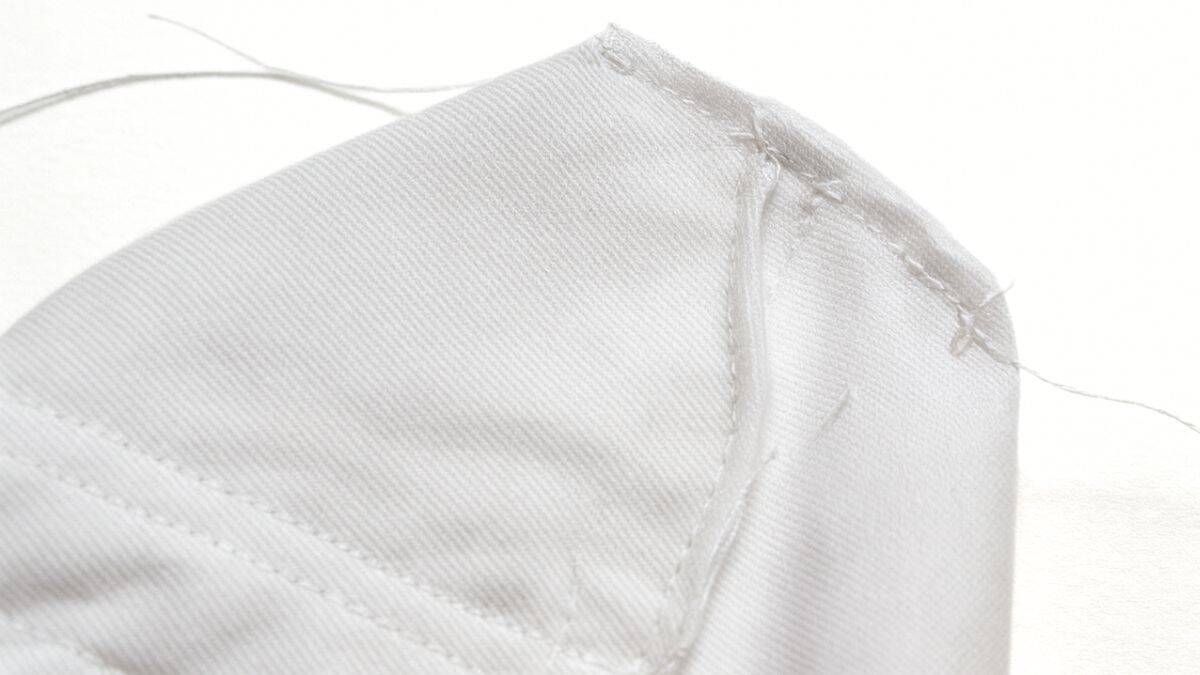
This step is optionalAfter reaching this point, I chose to add gussets to the bottom, so I did this on all four corners, through both the lining and the main bag.
If you're not interested, just move on to the next step. Here's what the gussets look like. I only created them approximately an inch long. Just to add some structure.
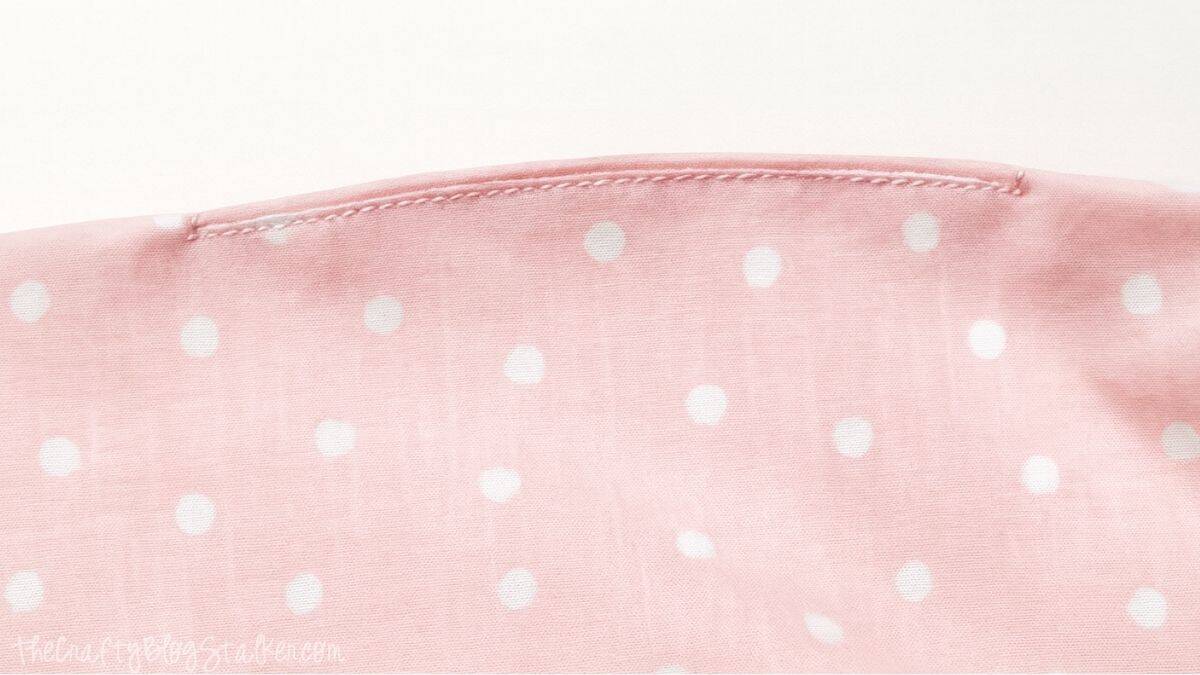
Trim your corners (if you decided against using the gussets), and flip the clothing item to the right side. Iron the opening and sew it shut with a topstitch.
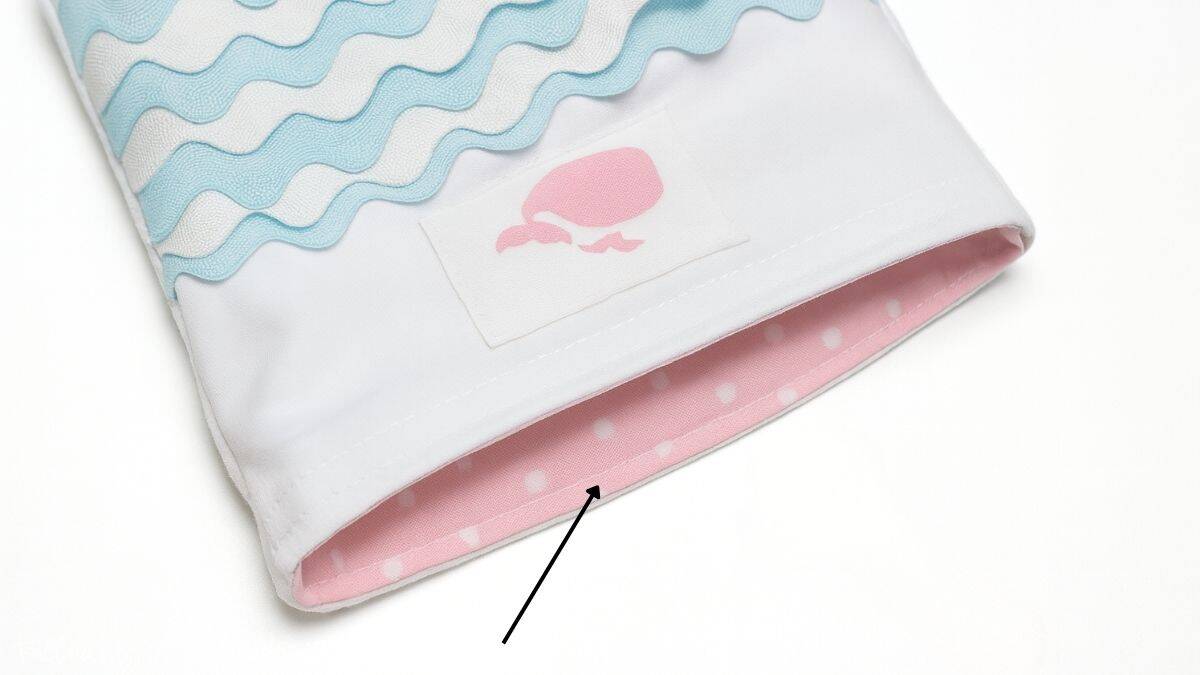
Turn the lining inside your bag and sew along the edge of the bag.
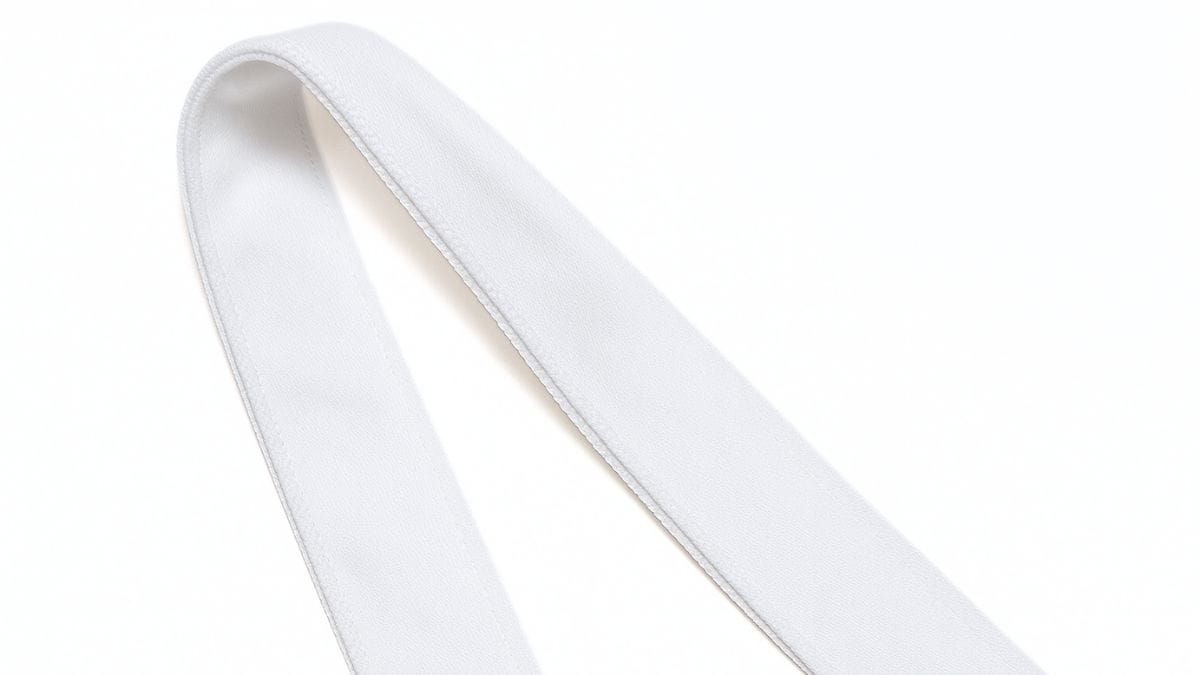
Sew the Straps
Take the fabric strips and fold each raw edge in by approximately ¼” to ½”.
This doesn't have to be flawless. Just make sure there's a straight line after you finish pressing. Fold both sides in half and press.

Topstitch along the edge of each.
To secure the straps to the bag, fold the unfinished edge of the strap upward and fasten it to the front of the bag using pins.
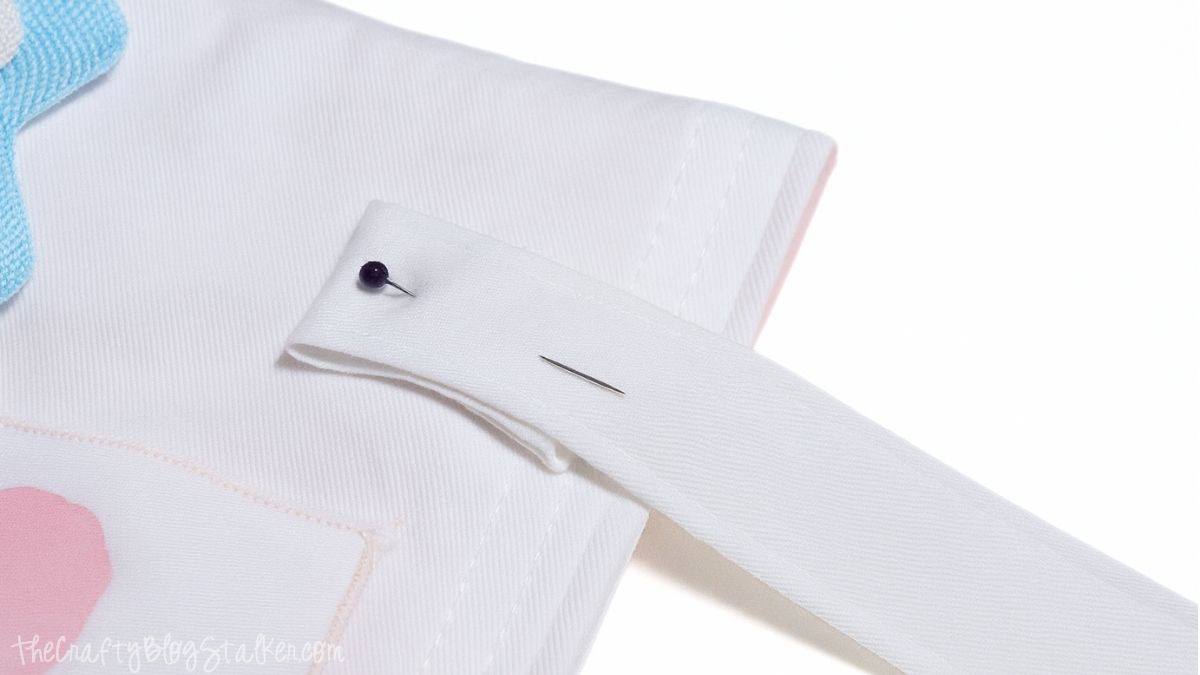
Align the straps on the front and back to ensure the bag remains even.
Stitch a border around the edges. You have the option to sew an "X" in the middle of your square, but I decided it wouldn't need to support much weight, so I skipped it.
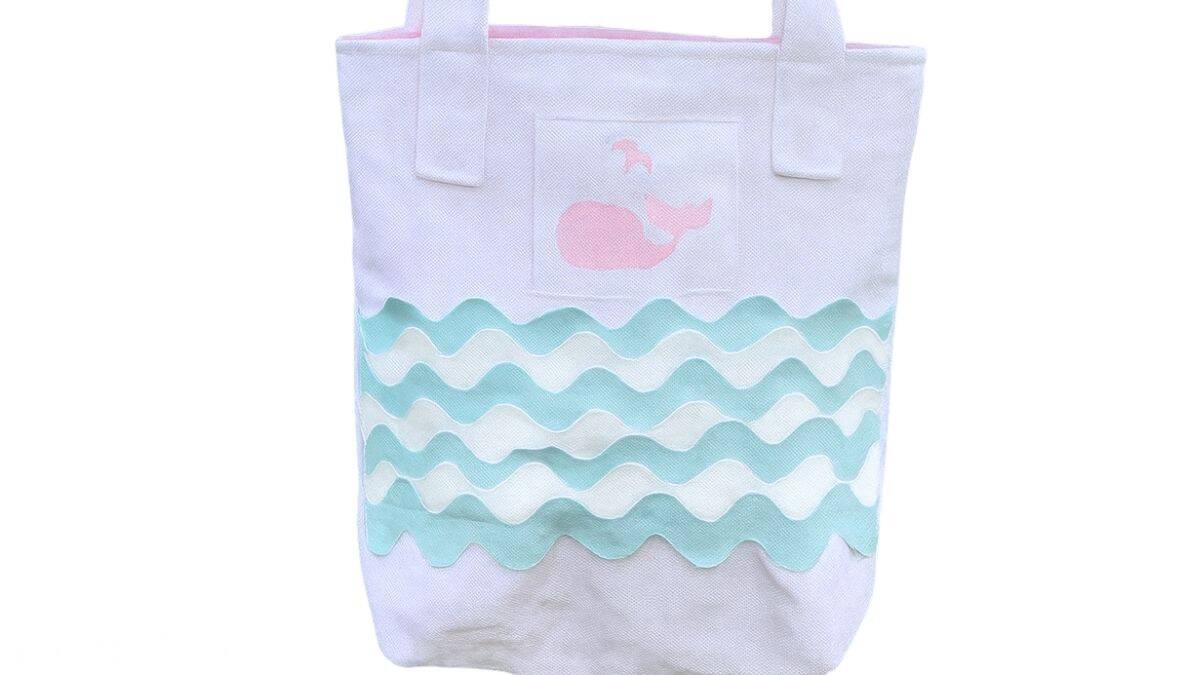
Repeat on the back, and then you're done!
The completed tote bag is adorable and ideal for small hands.
More Sewing Ideas
Don't store your sewing machine just yet. Let's create something different. Here are a few more enjoyable projects.
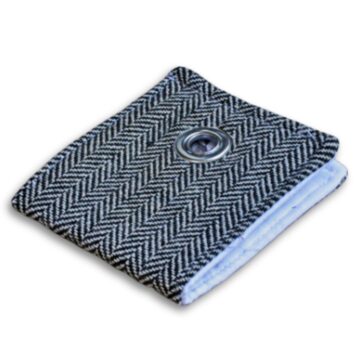 How to Create a Fabric Wallet
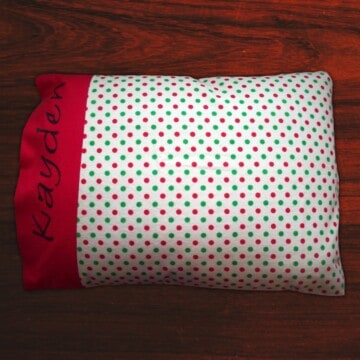 How to Create a Custom Christmas Pillowcase
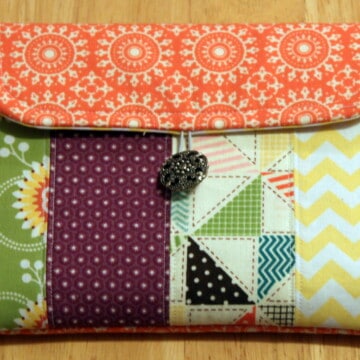 Kindle Case Sewing Pattern

Hi, I'm Katie!
I'm thrilled you're here. Ready to create something amazing? I'm here to assist!
The post How to Create a Mini Tote Bag for a Young Child appeared first on The Crafty Blog Stalker.

No comments:
Post a Comment